
The screenshot function in windows is a wonderful tool. It is especially useful for helping to describe a problem while troubleshooting with technical support. For this reason, here we will show you how to take screenshots.
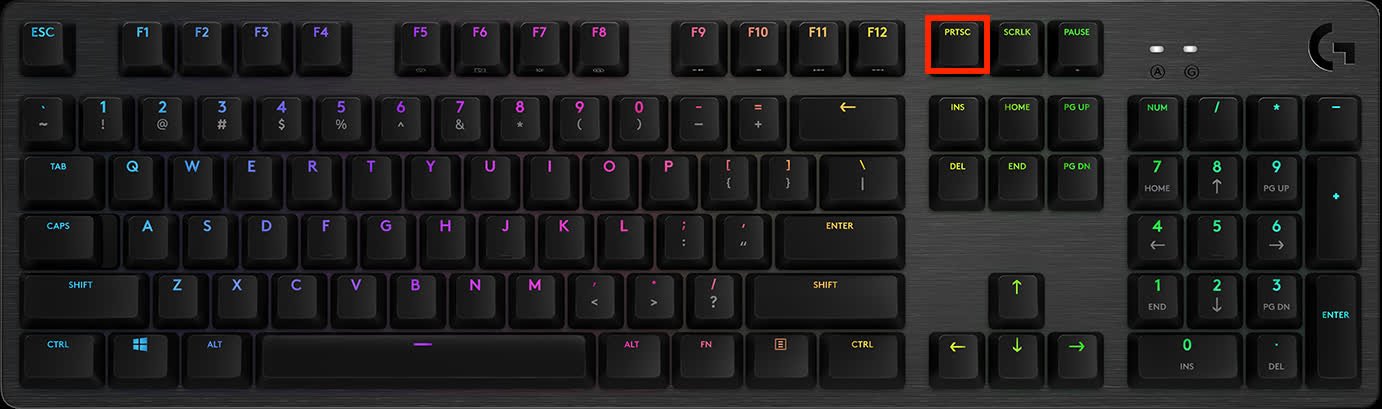
The simplest way to take a screenshot is to press the Print Screen key on your keyboard, which is usually abbreviated as PrtSc. This will save what’s displayed on your PC screen inside the clipboard. If you’re using a laptop, you may need to press Fn + PrtSc to get the same result.
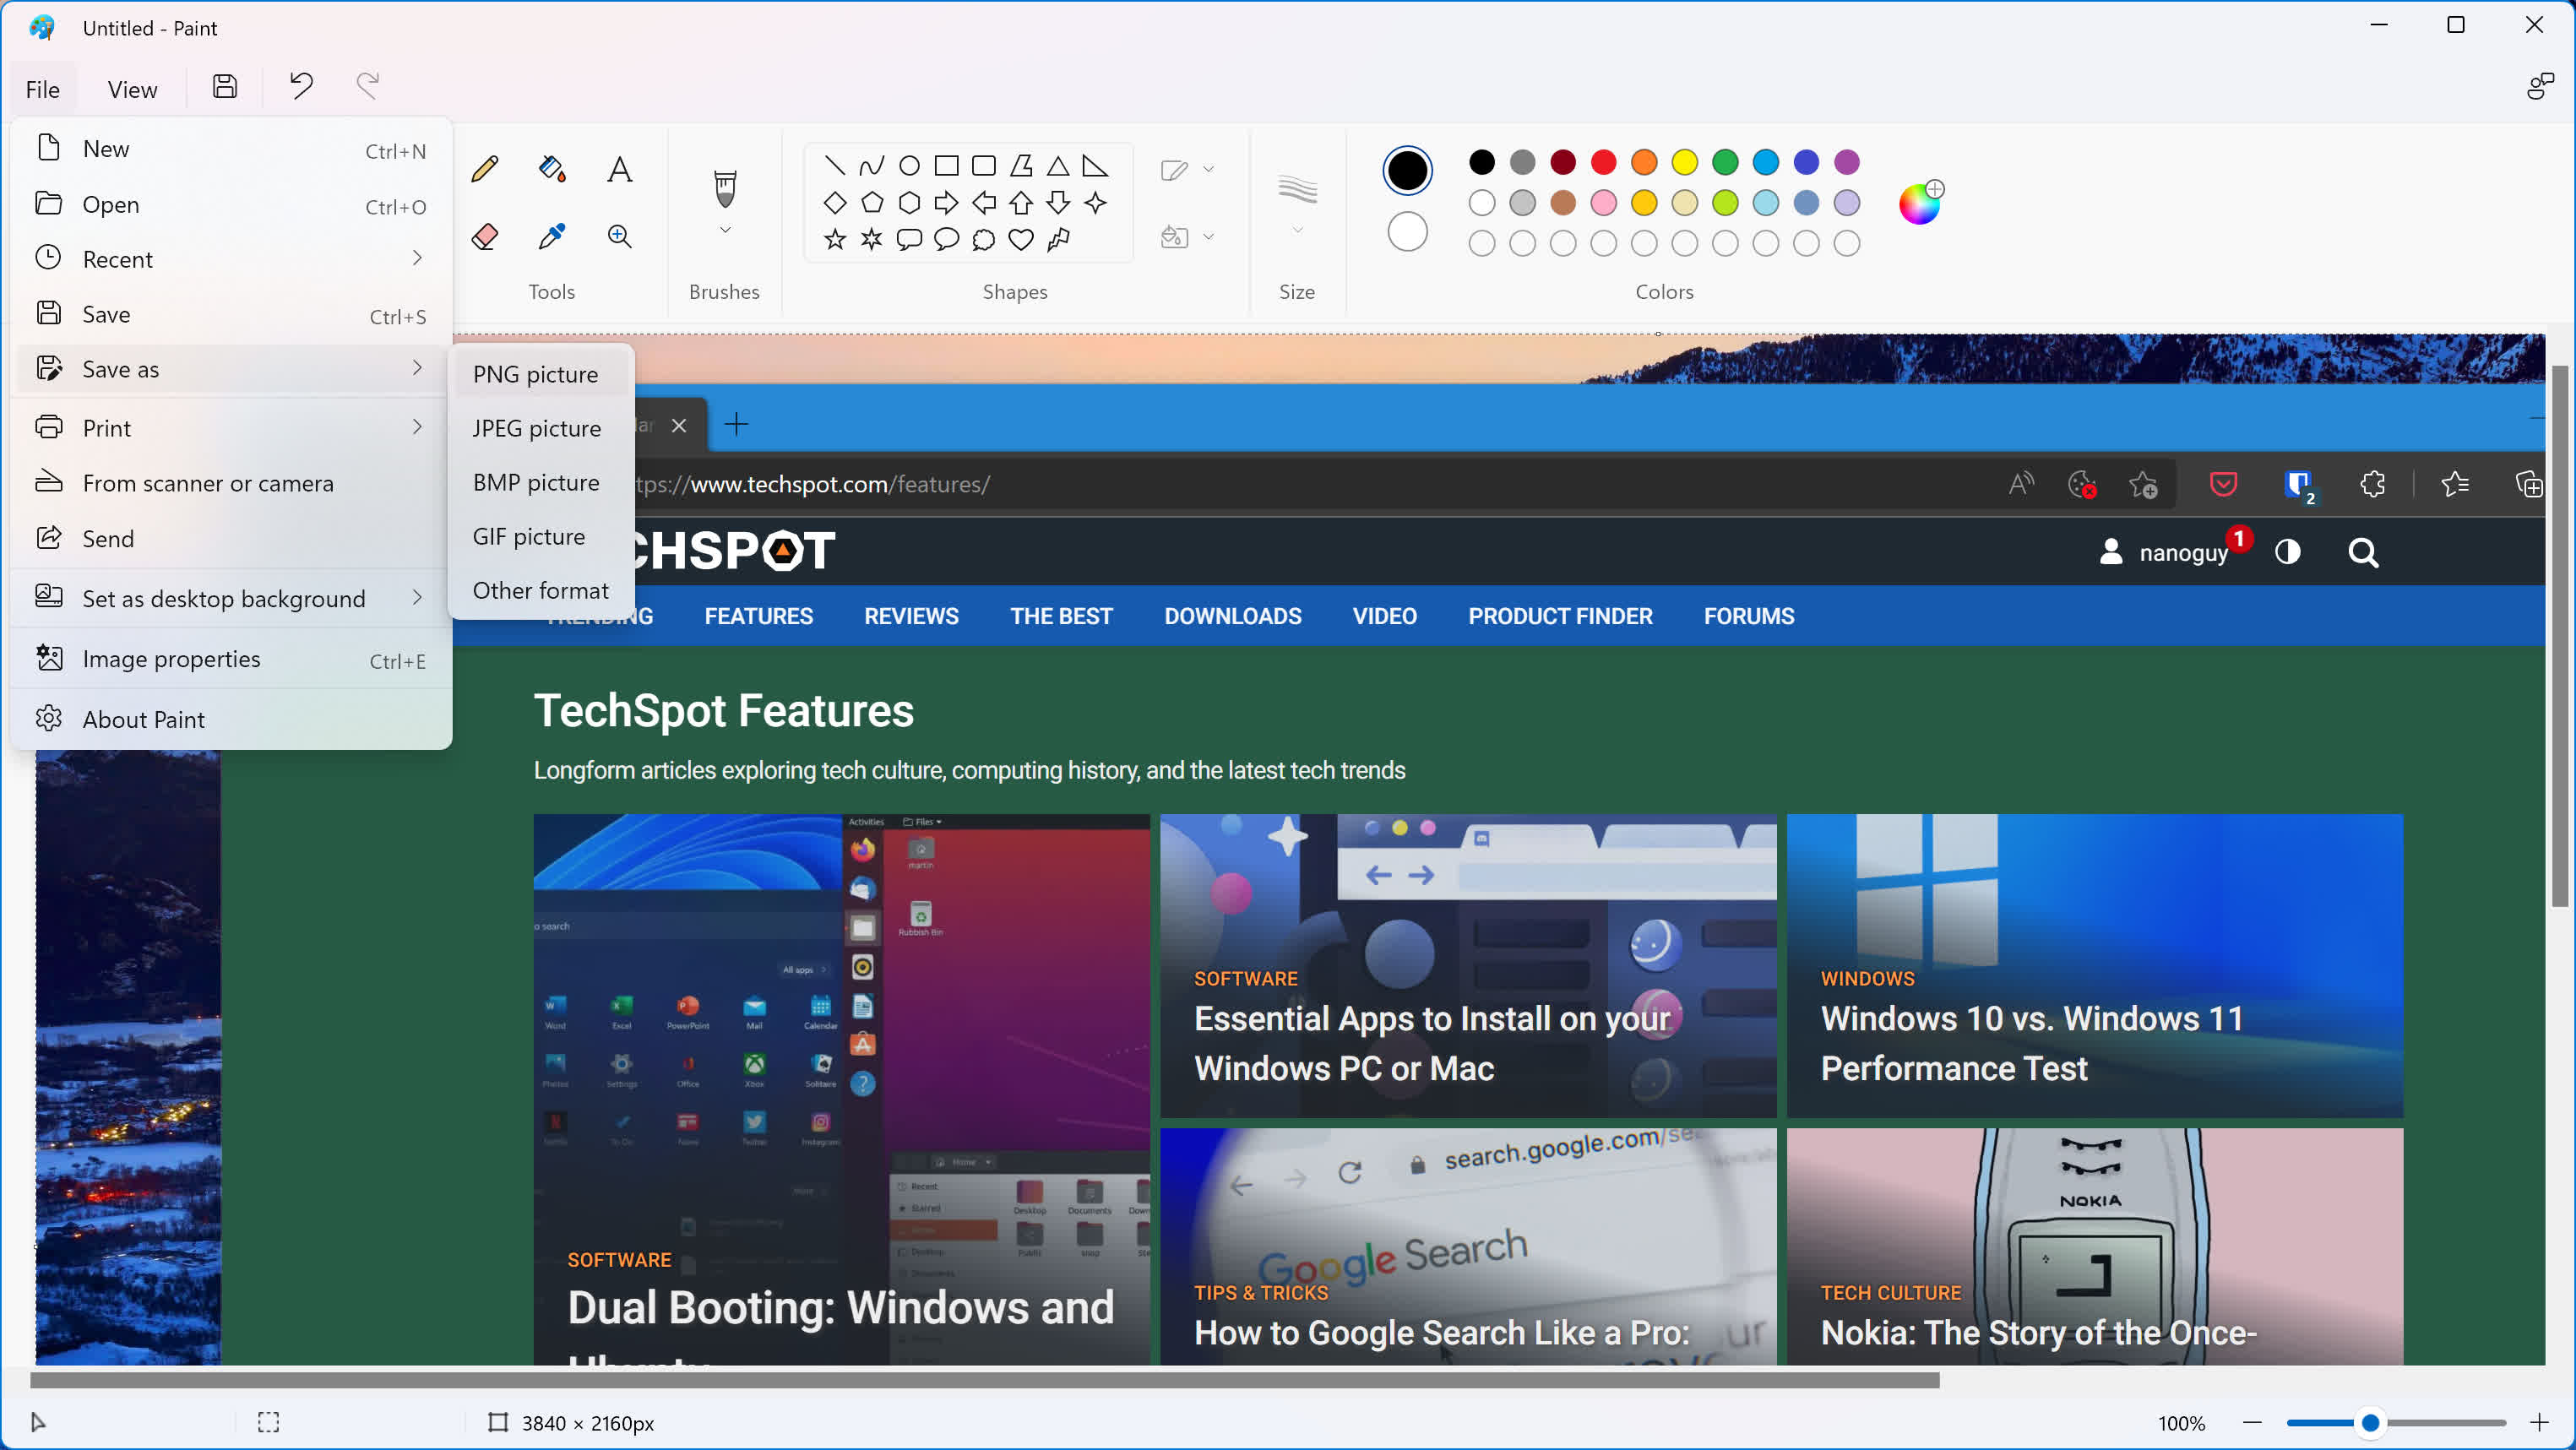
To crop, annotate, and save your screen capture, you’ll have to paste it into an app like Paint or an image editor of your choice. For very simple editing, you can use Paint which is available in all Windows versions. Open Paint from the Start menu, and then press Ctrl + V on your keyboard to paste your screenshot. From there, you can crop and edit your screenshot to your liking, or save it directly by pressing Ctrl + S on your keyboard.
You can also grab a full screen capture without any modifications by pressing Win + PrtSc.
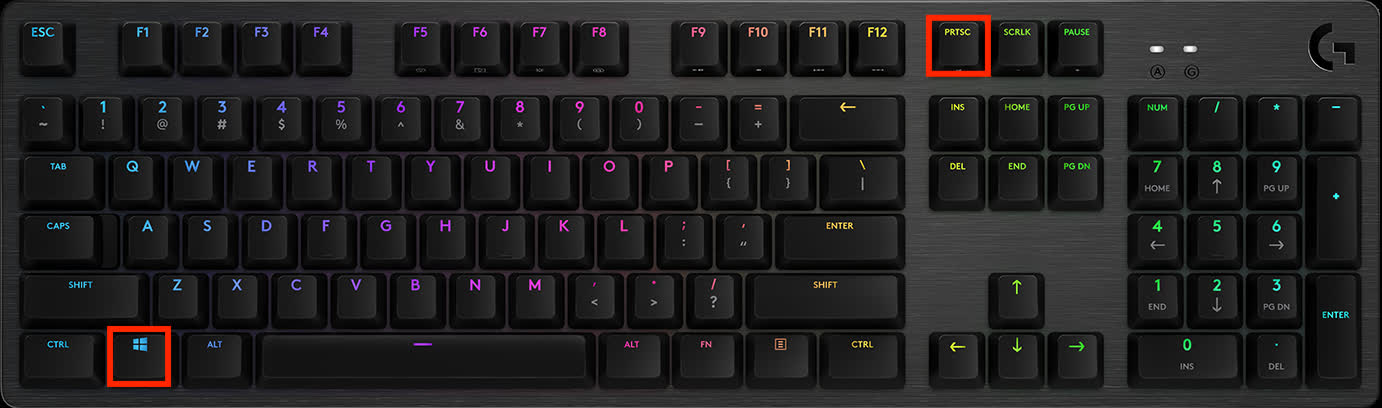
This will instantly save the contents of your screen as a PNG inside a folder called Screenshots in your Pictures folder. This is useful when you need to take several screenshots in quick succession.
Using the Snipping Tool
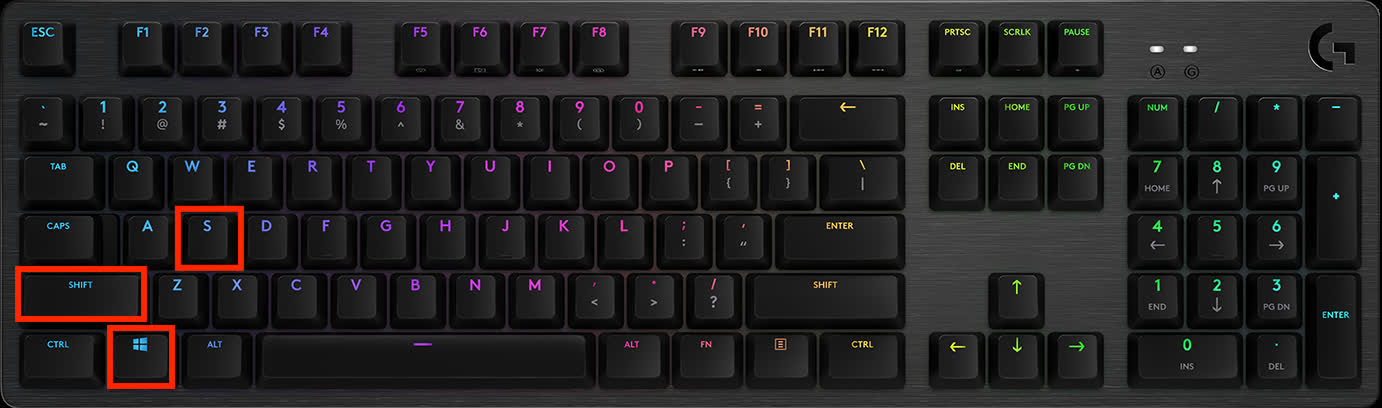
Alternatively, there is a more robust way to take screenshots in Windows — use either Snipping Tool (Windows 10) or Snip & Sketch (Windows 11). Both are meant to give you instant ways to annotate and crop your screen captures.
Referenced Works
https://www.techspot.com/guides/2439-take-screenshots-like-a-pro/


